DIY Dollar Tree Glass Ornaments
DIY Dollar Tree Glass Ornaments
Happy Wednesday everyone! Hope you are having a fabulous week! Today I am sharing another DIY… as a matter of fact, I am doing the 12 Days of Christmas on my Youtube channel where I share one DIY every day for 12 days and I am wondering if I will keep up here. ?
Here’s hoping! ??
CHECK OUT all of the 12 Days of Christmas here!
DAY 1 | DAY 2 |DAY 3 |DAY 4| DAY 5 | DAY 6 | DAY 7 | DAY 8| DAY 9| DAY 10 | DAY 11 |DAY 12
You can also watch all of these video tutorials as well on on the playlist and see these back to back on the playlist!
In order to get started on these DIY Dollar Tree Glass Ornaments you will need some of the little glass bottles below.
Yes, we are making glass ornaments! Cute little mini snow globe village ones that is…
You find the bottles you see above near the sand bags in the decor section at Dollar Tree. Remove the stickers and wash and dry them well….
Next, you will need these village accessories, also from Dollar Tree.
RELATED: DIY BALLARD DESIGNS CHRISTMAS TREE DUPE
I will be using the Christmas tree and one light post for each ornament.
 Since the light post is too large for the bottle as is, I needed to cut it down, so I started by removing the snow on the bottom (it’s one piece that pops out). And then I cut the half wall side off.
The pieces are hollow and in order to prevent this from showing, I cut off the end of the half wall that I cut off and then glued them back together….
I just put them together like I did below and filled them with hot glue. Once the glue dried it was one piece.
After removing the bottom snow portion of the tree I filled the underneath area up (since it was also hollow) with hot glue and then placed it inside the bottle.
I couldn’t find my craft tweezers so a mini clothes pin had to do!
Then I added the light post. After those were dry I added a little bit of Dollar Tree white sand.
RELATED: DOLLAR TREE HIGH END ORNAMENTS
I added a couple of dots of hot glue to the cork top and placed it back on the bottle. This will ensure the cork doesn’t just slide off.
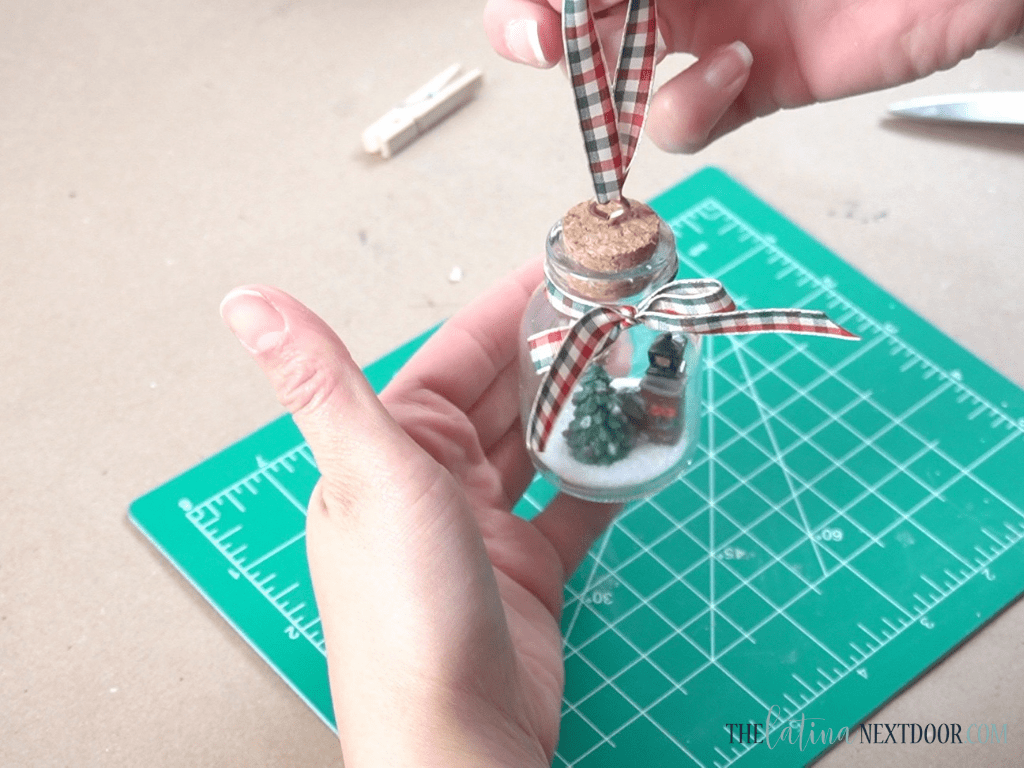
Afterwards, I tied a bow around the neck of the bottle.
And then I used this small hook (found in one of my picture hanging kits) to screw into the top of the cork so I could have a place to hang the ornament from.
With the addition of another piece of ribbon, I was done!
How adorable is this?!?! I love the delicateness of it all… and the fact that it’s actually glass so it doesn’t feel cheap.
These bottles are just the perfect size as well. Since they are glass they are heavier so you wouldn’t want anything bigger weighing down your branches.
I am so pleased with this one and I hope you enjoyed this too!
For even more inspiration check out this Christmas DIY video below!

Don’t forget to share and I will see you in the next one! Until then… adios!


Yami, so many great craft ideas come from you. I just wish I had the time to make them all. I love this one.
Thank you so much Felicia! It’s definitely hard, I feel ya!
These are a really cute gift idea, too!! Wish I had your imagination when I’m in the Dollar Tree!! Thanks for sharing….??
Yes, I think they would make great gifts as well!