Trash to Treasure Farmhouse Storage Box
Hey there friends! How are you?
My two older kiddos just went to their open house and we are almost ready for school on Monday! Woot woot!
We have been cleaning out their closets and taking out anything doesn’t fit them anymore. I want to start this school year clutter free!!!! I have been getting rid of stuff around the house too (and let me tell you, the boxes we have to take to Goodwill are overflowing!).
However, while going through some things I came across this box from our purple sheets that came with our Purple Mattress. It is a box I can never bring myself to throw away. It is too nice with magnets and everything.
Of course while the outside isn’t pretty, the inside was a nice lime green color too.
So of course, I couldn’t bring myself to get rid of it. But I had to do something with it, so here is what I did and what I used in order to make it look less like trash and more like it belonged in my home.
Some of the links below are affiliate links, please see full disclosure for more information.
Supplies:
- An Old Box
- Contact Paper – I used this floral one from Dollar Tree
- Scissors or Box Cutter
- Hot Glue/ Glue Gun
- Chalk Paint or Acrylic Paint
- E6000 Glue
- Farmhouse Style Cabinet Pull – I got this one from Home Depot
First, things first… I cut the inside tab off as it wasn’t necessary.
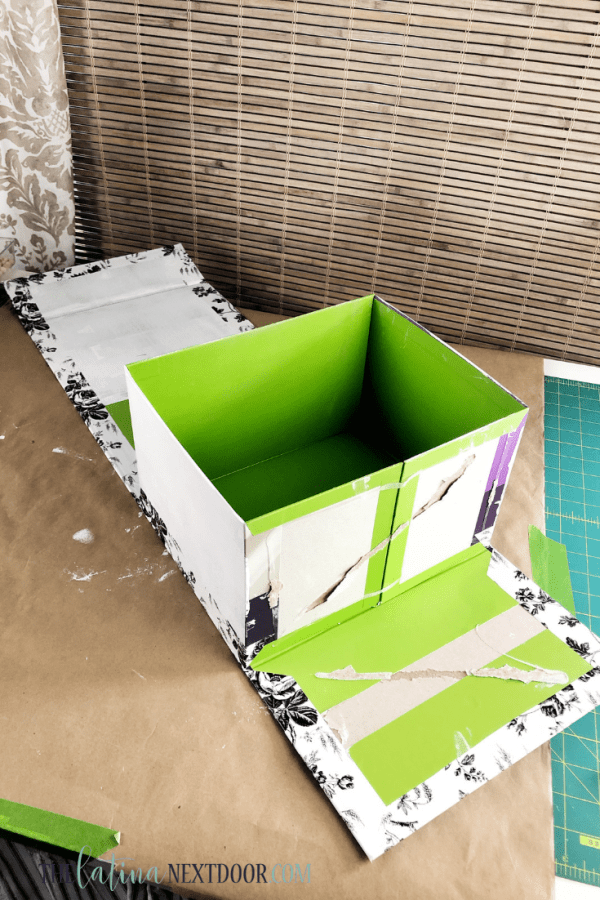
Next, I gave it one coat of white chalk paint. I wanted to mute the colors because my contact paper was mostly white and I didn’t want the box’s original pattern to show through it.
After the box was dry, I took the sides apart so I can add the contact paper more easily.
*If at any point you are confused, you can check out the video tutorial on my YouTube channel or scroll to the end of this post and watch the video on this page.*
Once that was done I began adding the contact paper. I cut the paper to better fit the box and I did the outer part first making sure there was about an inch to fold in and over the edges.
Then I began cutting the slits on the folds. I cut them at an angle so that each corner edge gets folded over.
I did this to the entire exterior of the box and I made sure to smooth out any bubbles or creases as I went.
Contact paper can be a little tricky to work with but if you take your time with it, it will come out super smooth.
After that I added the two sides and made sure to fold the excess over each opposite edge.
Then when all of the box was covered, I hot glued the sides I undid, back together.
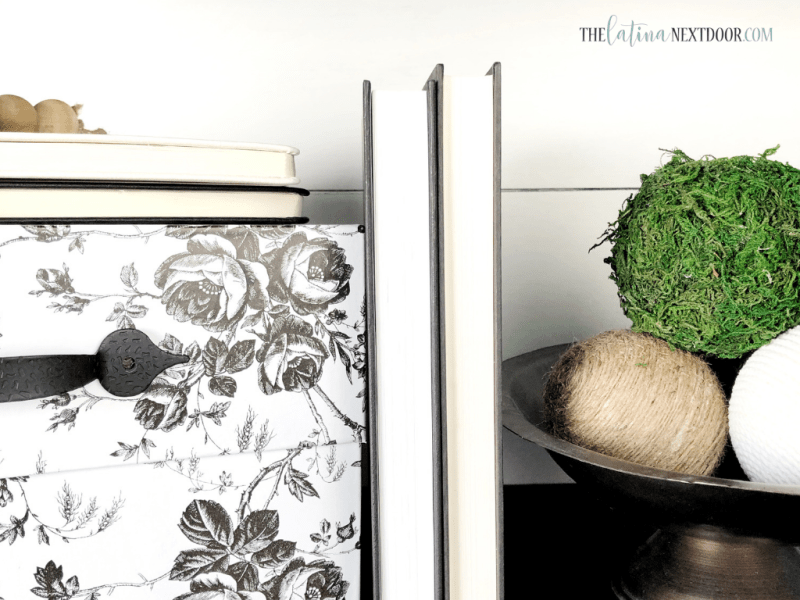
And then I added this sweet farmhouse cabinet pull from Home Depot that cost $1.58. I found the center of the lid’s lip and glued it on with E6000 and used a bit of hot glue to hold it together while the E6000 dried.
And that was it!
Paired with some black and white books and in front of shiplapped shelves, it looks like it was meant to be!
Now I want to cover ALL.THE.BOXES!
What do you think of this trash to treasure transformation?
I would love to know!
And here is the video tutorial as usual in case you wish to see this done in action.
Be back with more inspiration soon! And don’t forget to pin to share with your friends!


Love this idea!I will think twice before throwing a box away. 🙂