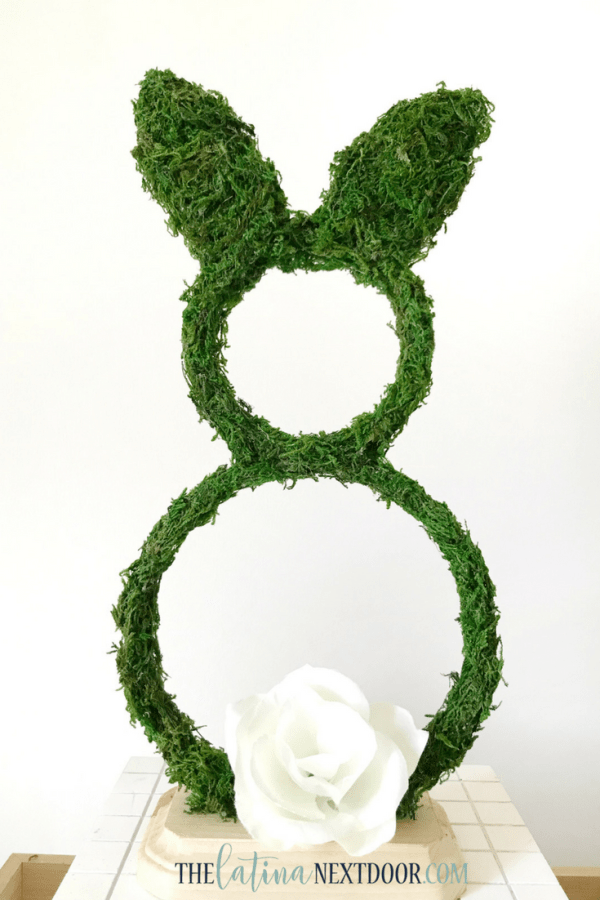
DIY Easter Moss Bunny
*I was compensated for this post. This post also contains affiliate links and I will be compensated if you make a purchase after clicking on my links. See full disclosure here.*
I am so excited for today’s post as I have partnered again with Dollar Tree to bring you another easy and fun DIY project just in time for Easter.
Related: Dollar Tree Winter Decor
Related: Dollar Tree Frozen Foods
I have never been really big on decorating for every holiday and I know that there are others out there who just don’t have the time, but you can still enter in the spirit of Easter with this simple DIY that can easily be added to your existing decor without having to drastically change everything else around it.
DIY Easter Moss Bunny Supply List:
(Supplies used were from Dollar Tree and my local craft store)
- 2 embroidery hoops – 10 & 15 cm in diameter
- Floral Moss from DT
- Foam Board from DT
- Small unfinished wood plaque
- Hot glue gun & glue
- E6000 glue
- Flower (these bushes are just $1 at DT).
You can also check out the complete video tutorial on my YouTube channel as well!
First you will need to glue the embroidery hoops with hot glue.
Then start hot-gluing the floral moss.
It will get messy!
Stop before you get the the bottom and leave spaces for the ears.
Cut out a couple of ears from foam board.
They don’t have to be perfect since you are going to cover them with floral moss as well.
After you cover them attach them with hot glue on the embroidery hoop. Hold them until the glue dries completely (just make sure you don’t add any moss too the bottom of the ear for better adhesion).
Then after you have the ears attached, grab your unfinished wood plaque and using a combination of E6000 and hot glue, secure to the base. The reason I used both was so that it would have a strong hold with the E6000, but have the hot glue dry quickly so that it can support the bunny while the E6000 dried.
Then cover the rest of the exposed embroidery hoop. You can leave it like this but I went a step further and gave the bunny a tail by using a rose that I had removed from a floral bush.
I think it turned out adorable!
You can always stain the base to match your decor or even add ribbon or a bow to the bunny to give it a little extra detail, but this was perfect for me.
It now sits on my entrance cabinet in the foyer.
What do you think about this DIY? Would you try it in your own home? Now, I totally want to decorate some more things with moss!


Love it Yami! Most sophisticated bunny I’ve seen for sure. Have noticed these on Etsy but so not paying $40 plus shipping. Thanks for the great tutorial! Yay for Dollar Tree!
Thank you Cindy! And yes, Dollar Tree is awesome!
Oh, I really love this adorable little moss bunny. What a wonderful idea!
Thank you very much!