DIY Farmhouse Rustic Plate Rack
DIY Farmhouse Rustic Plate Rack
*Some of the following links are affiliate links. Please see full disclosure for more details*
Hello everyone! Hope you all are doing well! I am so happy that Fall is finally here and the weather in Georgia has been amazing these past few days. Lows in the 5’s0 and highs in the low 70’s. Perfect weather!
Today I am sharing the latest dupe in my Look for Less Challenge. If you are not familiar with what it is, it is a challenge I host every month on my Youtube channel with a different co-host. It’s an open invite where other creators can join in and add their videos to my playlist so that we all can inspire to create high end items for our home without the cost.
You can check out the playlist for this month here.
My kitchen renovation is pretty much wrapped up and what I am doing now is adding decor pieces to the space. I have a ton of updates coming at you in the next few days sharing everything it took to get it to where it is today. I feel like this kitchen has taken us most of this year.
Anyways, I needed a piece to go on the blank wall behind my new island and since I have been wanting a plate rack (those amazing ones you see in farmhouses like all the time ?) I thought it was finally the time to make one for myself.
I searched online and found this beauty on Etsy. It’s a made-to-order piece and if you are interested you can definitely check out the shop here. There are some gorgeous items in the shop!!! This piece, even though it was beautiful was out of my price range. At $349 it was more than I wanted to spend.
Don’t get me wrong, handmade items are worth the money. The time and effort it takes to make these things is serious and it should be compensated accordingly, but I am a handy person and I have a handy hubby and I knew we could knock this out for a fraction of the cost.
So off to our garage we went to check our scrap wood stash. We actually had to purchase one board at Home Depot because we didn’t have one long enough for the sides but everything else we had.
Using our inspiration piece as a reference, we took note and began to work.
With our table saw, we began to rip our boards to our desired size.
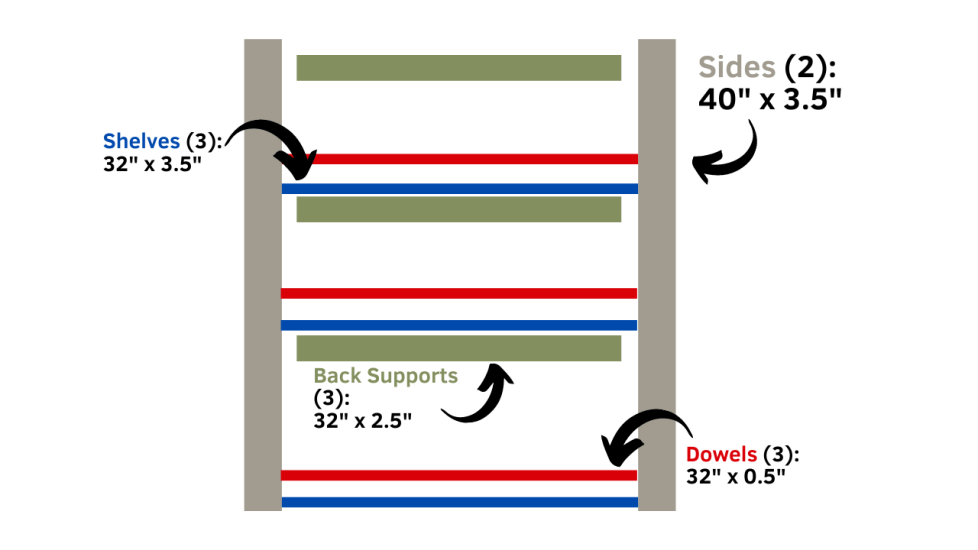
If you are interested in making one yourself here are the measurements.
We did make a couple of adjustments to the original size and we also removed the lowest shelf where the small pitchers were displayed. I have small kids and I did not see that as a practical way to display my pieces at all. Yikes! I could see the disasters now.
Here are our plans:
 One more thing I did was round off the tops of the two sides to give it a soft more “cottagey” look. ? I traced a round edge and used my jigsaw for this.
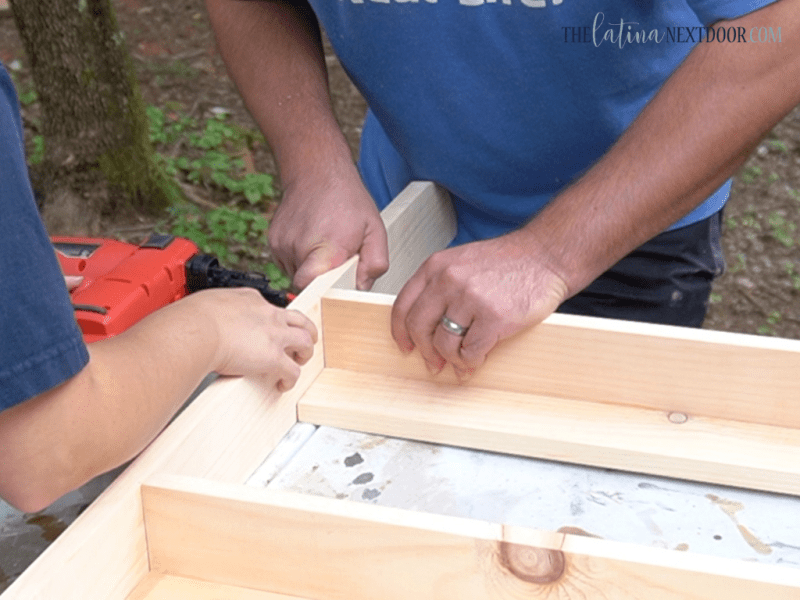
Next, it was time to assemble the shelves. We started with the two inner shelves.
We used wood glue and nails for this and used our nail gun to attach them.
You will need to did this to both shelves. Then, we measured where we wanted them to go.
We measured 12 inches from the top of the bottom shelf to the bottom of the next shelf above. Then, we marked the area and nailed the shelves in from the outside.
The bottom shelf does not need a bottom support and the top is just the back support, no shelf.
After the shelves and supports were nailed in place, then came the dowels. We measured 2 inches above the shelf to get our desired location.
Here is where we messed up* –
We were following the inspiration piece and it had no groove lines in the shelves that we could make out so we assumed that the dowel was enough to hold the plates in place. HOWEVER, this is not the case and we didn’t find this out until AFTER we had finished the piece completely!
It is too late to make a groove now so we will add another dowel to the bottom center of the shelf to basically act a “stop” and function like the groove would have. I will share an update on the rack when that happens… but until then… let’s move on.
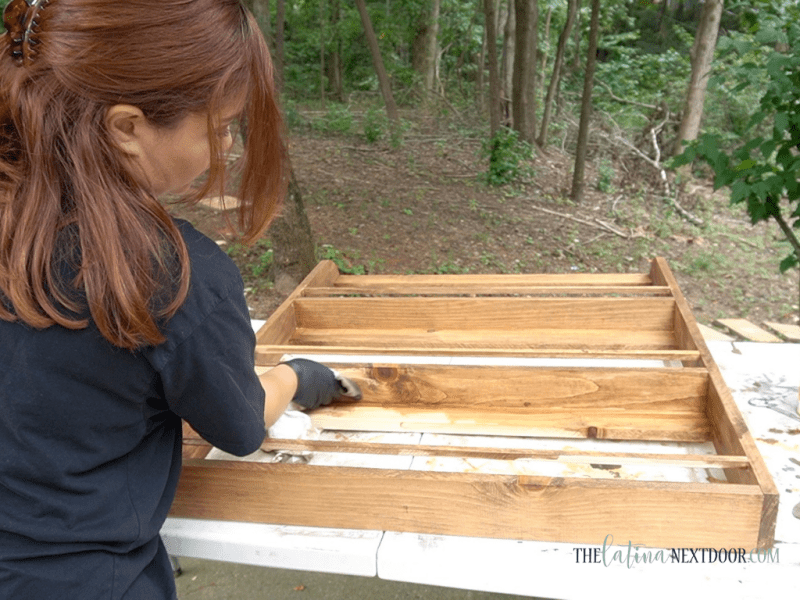
I didn’t want the stain to been to dark so I chose this one in the color Early American.
Next, I used Debi Design Diary’s clear wax to seal it. I used a wax brush to apply it. You are supposed to leave it overnight to cure and the next day you buff it with a lint-free cloth. Easy peasy!
Finally, we (and by we I mean, the Latino Engineer did it while I photographed?) installed the hardware to hang it up.
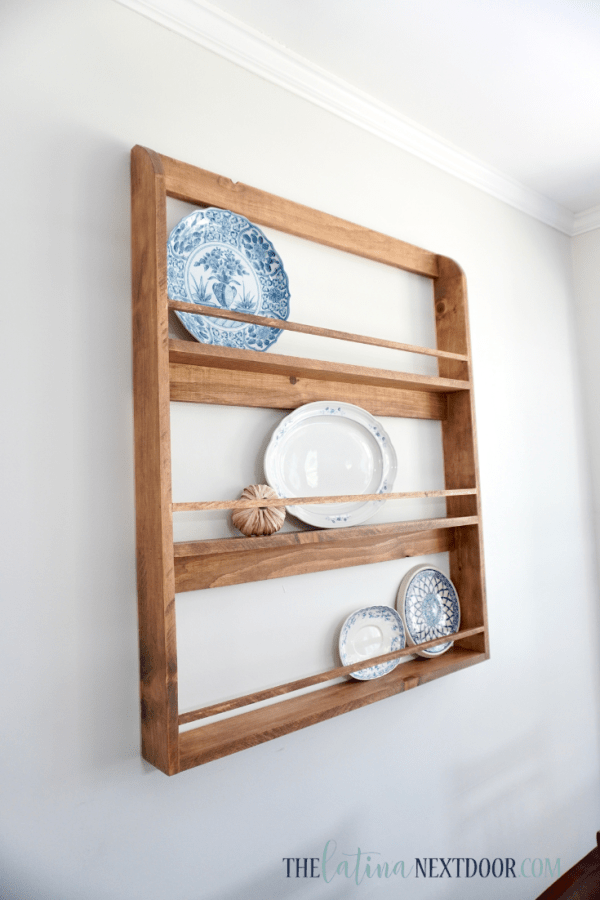
Besides the fact that I was freaking out that my plates would slip (I had put painters tape on the back of them for this shoot) and that I really didn’t have many blue and white dishes to display, I LOVE IT!
I seriously will be adding those dowels soon and will share how it looks when I do, but for now this is it!
I love the color and the little notches give it that rustic touch. Yet it still feels “cottagey” (there’s that word again? ).
Don’t those curved tops look better? I feel it softens the look.
I need more blue and white plates, gah!
And I am already working on some DIYs for either side of it to fill up even more space on that wall. All in all I am so happy!
So how did we do? I think we did alright! We spent only $12 versus the original price of $349!
Woot woot!!
And even with the minor adjustments I think it’s worth just as much.
So, let me know what you think! And don’t forget to pin and share with your friends!
I will see you in the next one. Until then, adios!


I liked the video a lot because I am researching these wall mount plate display racks.
thanks for sharing
Happy you liked it!