Pottery Barn Artisan Vase Dupe
Pottery Barn Artisan Vase Dupe
*Some of the following links are affiliate links. Please see full disclosure for complete details*
Hey there friends! Hope you are all having a wonderful week. The weather is getting warmer and I am loving every bit of it. I really enjoy working outside on projects and I would much rather do it in the warmth.
Lately, I have been running a little low on thrifted items to make over so I decided to go thrifting last week. I was able to venture out to some new stores and I came across some great finds! You can come shop with me and check out my entire haul here.
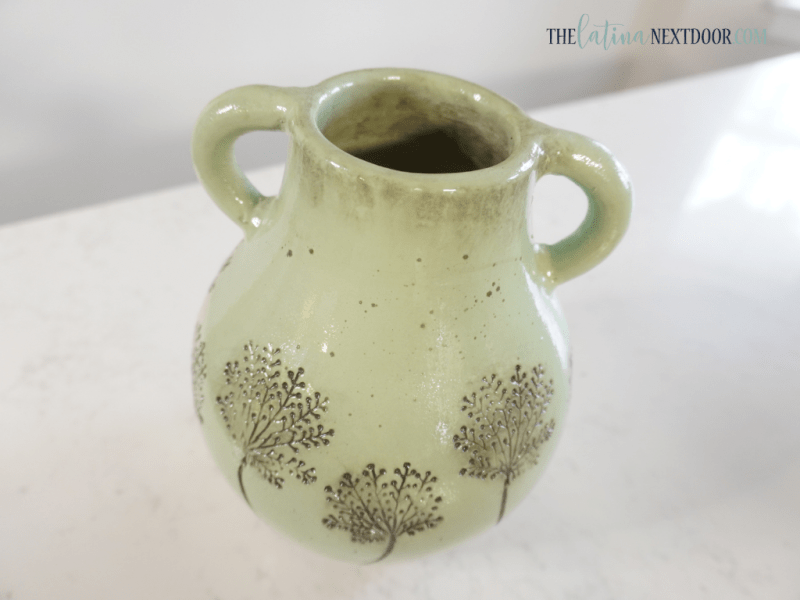
For this post we are going to focus on the jug (or vase, whichever you prefer?). I knew I had to have it the minute I saw it. At $6.99 it was a little on the high end for me, but I loved the shape and knew exactly what I wanted to do.
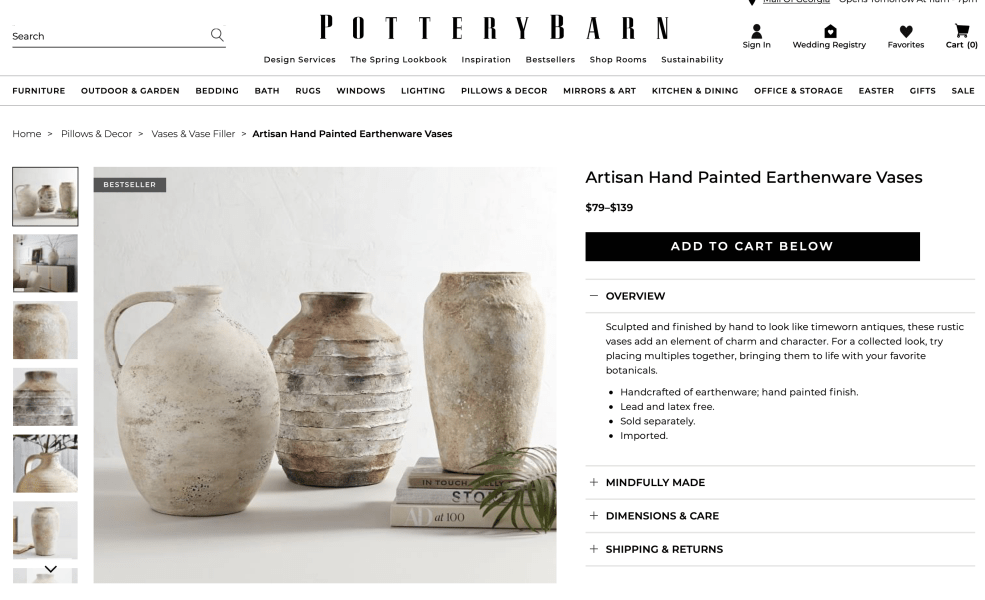
I had come across these artisan vases online at Pottery Barn a few days prior and I was inspired to create something similar.
Look at those prices… yeah, that’s a no go from me. ?
 The surface of the jug that I bought was not what I had in mind for my look and it had little recessed areas on the decorative florals that I needed to get rid of… so the first thing I did was get some joint compound.
It was what I had on hand, however spackle could work for this too.
I made sure the surface was clean first, then I removed the sticker and sprayed it down with mix of 50/50 alcohol and water. I wiped it well and let it dry.
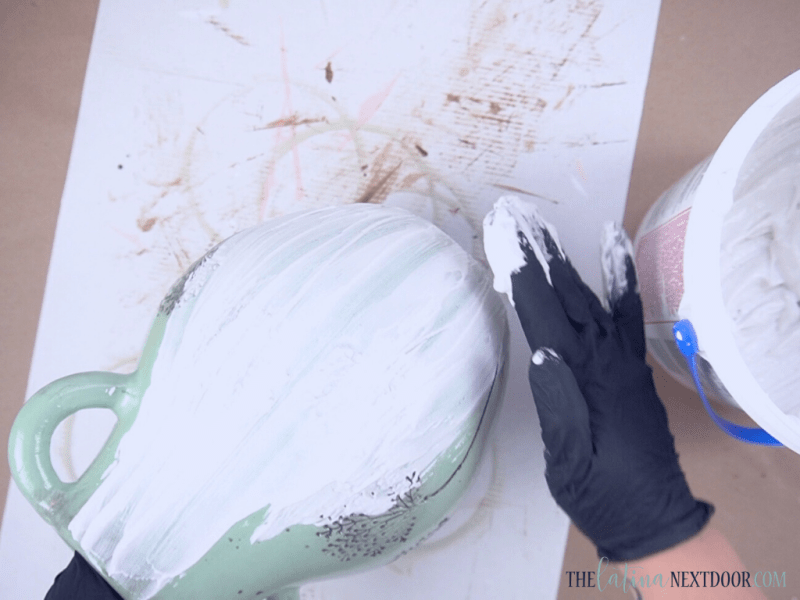
With some gloves, I then applied joint compound all over the jug, using my hands to create long strokes from top to bottom.
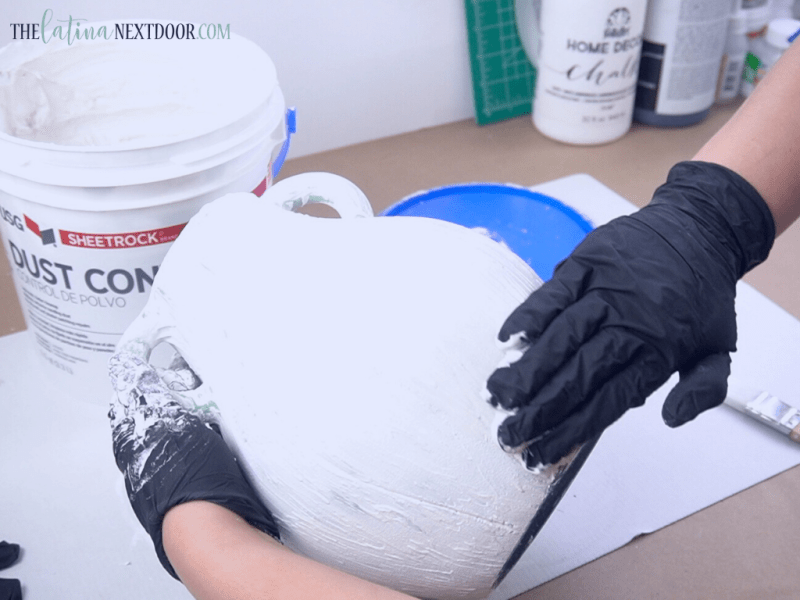
I let it dry and then came back in to do it again, making sure the entire surface was covered. Once both coats were dry I came in with a 220 grit sandpaper and smoothed out the ridges that were naturally created as I covered the jug with compound.
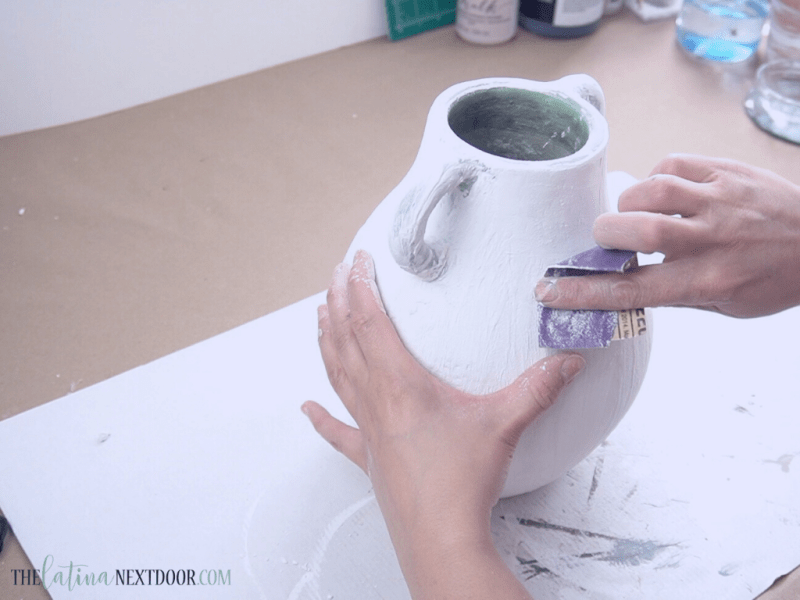 After that was done I made sure to remove any excess sanding dust with a wet rag.
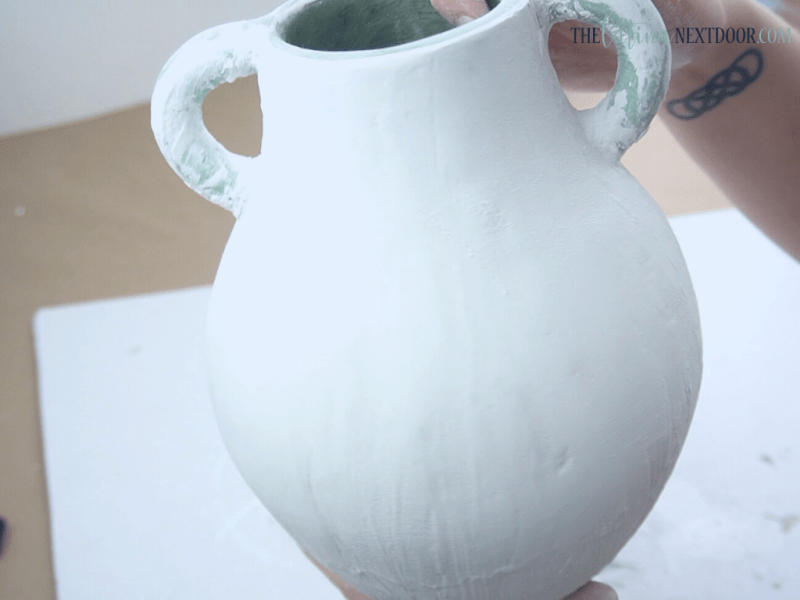
As you can see below, it wasn’t perfectly smooth but that’s how I wanted it since I did want it to look like an old handmade piece of pottery.
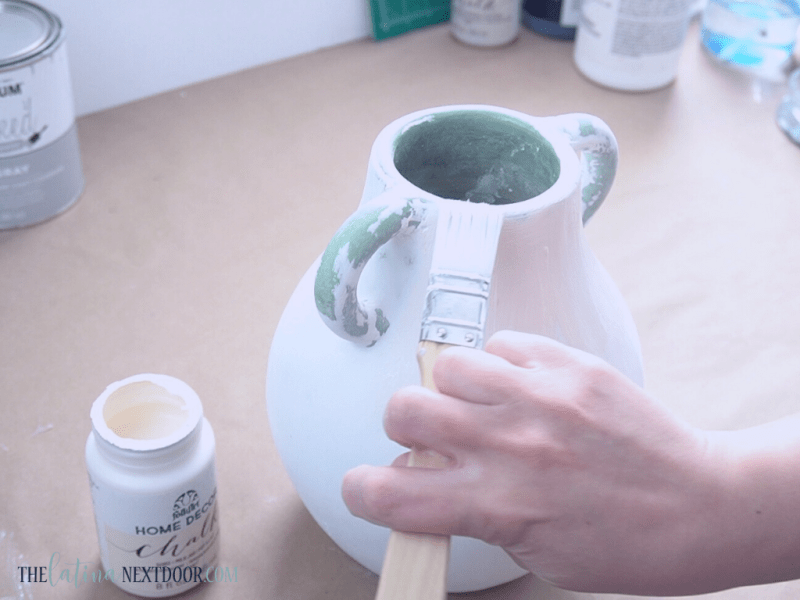
Next I took some chalk paint in the color milk jug (how appropriate) and gave the piece two coats.
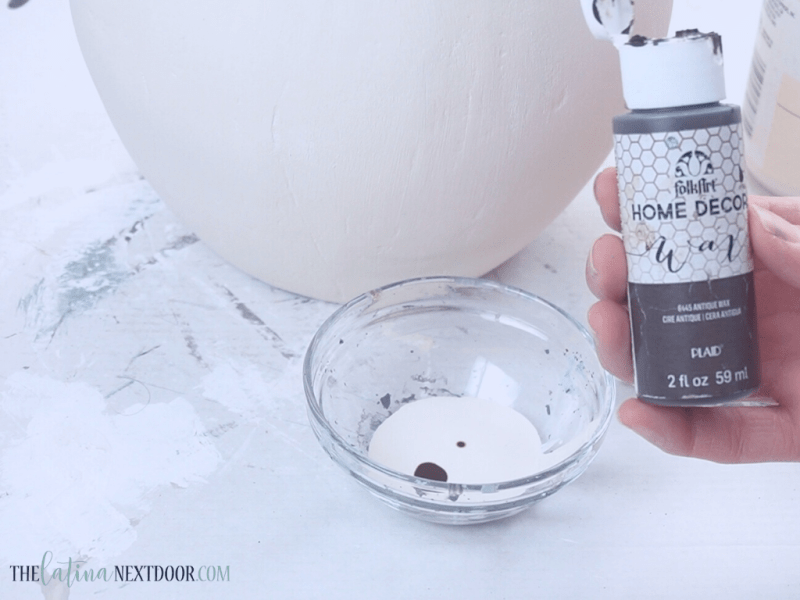
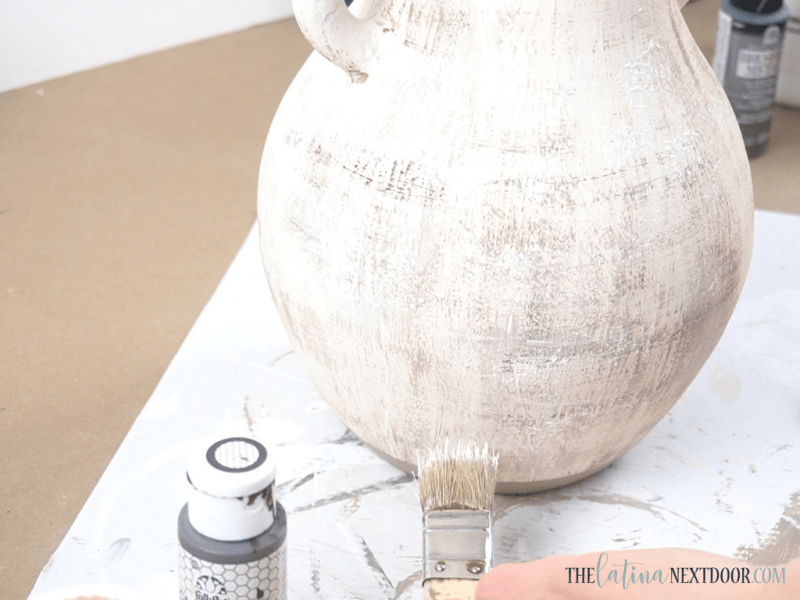
Next was the fun part: distressing it to make it look like antique handmade artisan pottery! I mixed some of the milk jug paint with some of my favorite antiquing wax to darken the color a bit.
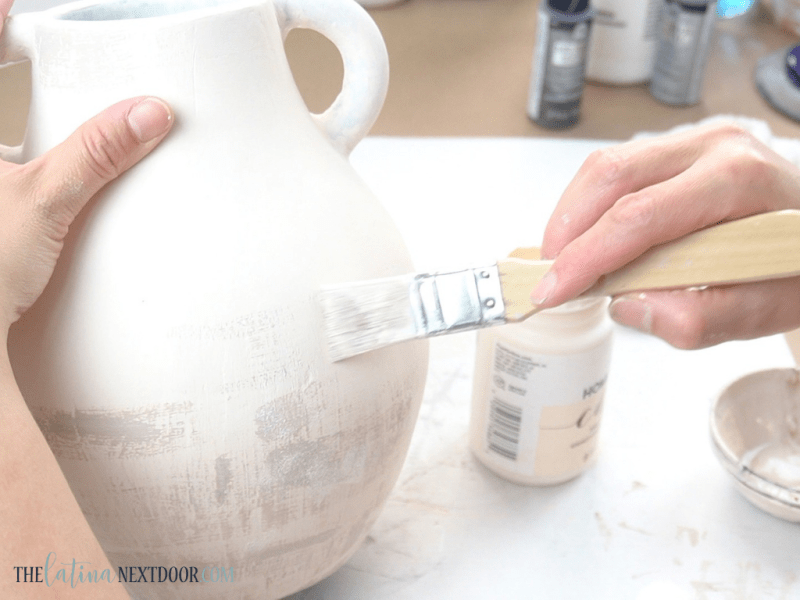
Then I began to use a flat brush and started to drag the side of the brush (with some paint) along the surface of the jug.
This process took a while for me since it was my first time trying… so I was winging it as I went.
The best thing about this though, is that you can do what you prefer for this process. You can add as much as you or as little paint for the “aging”. You can also choose to go with lighter or darker colors.
This is extremely versatile and super fun!
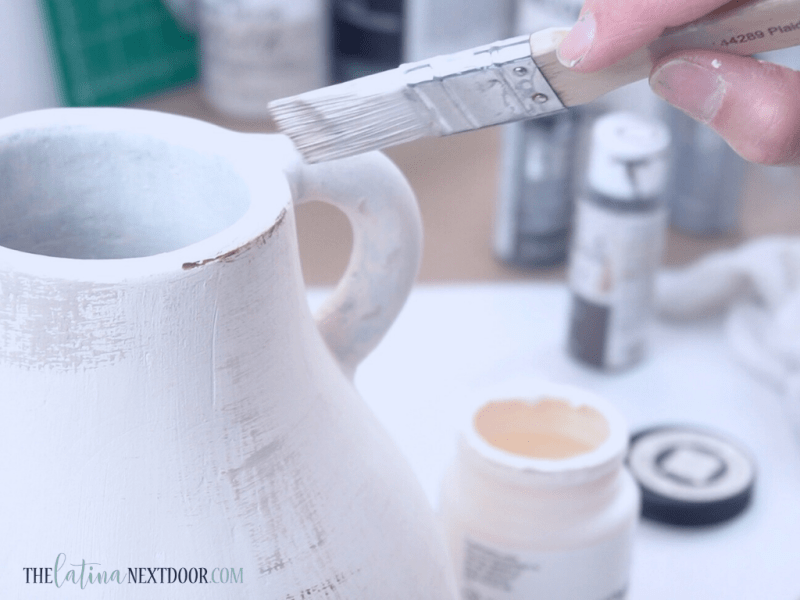
I came in with just the antiquing wax in some areas to make the aging more obvious. One thing I also made sure to do was paint the inside of the vase that was exposed. I didn’t want to have green pottery showing through.
In other areas of the jug I used a chip brush and I even incorporated vertical strokes.
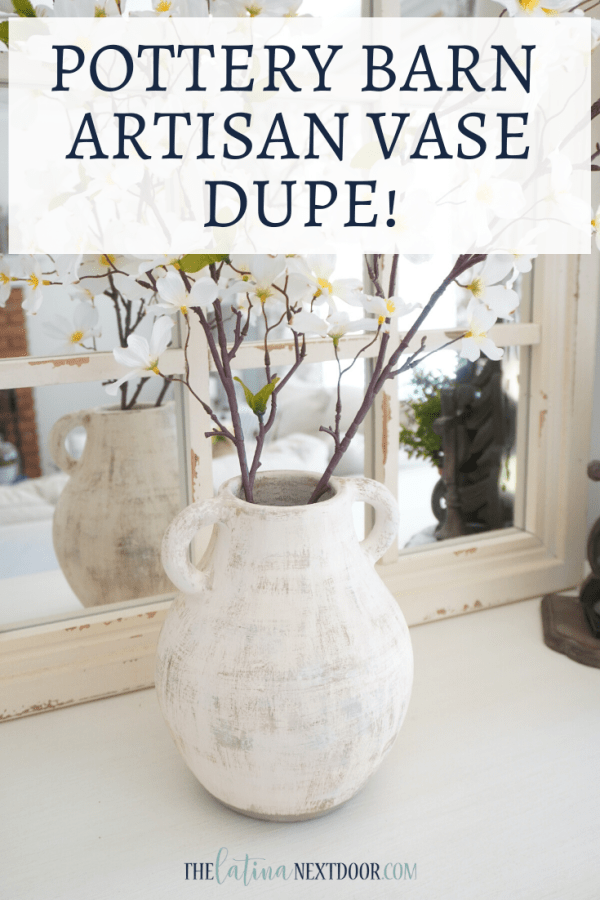
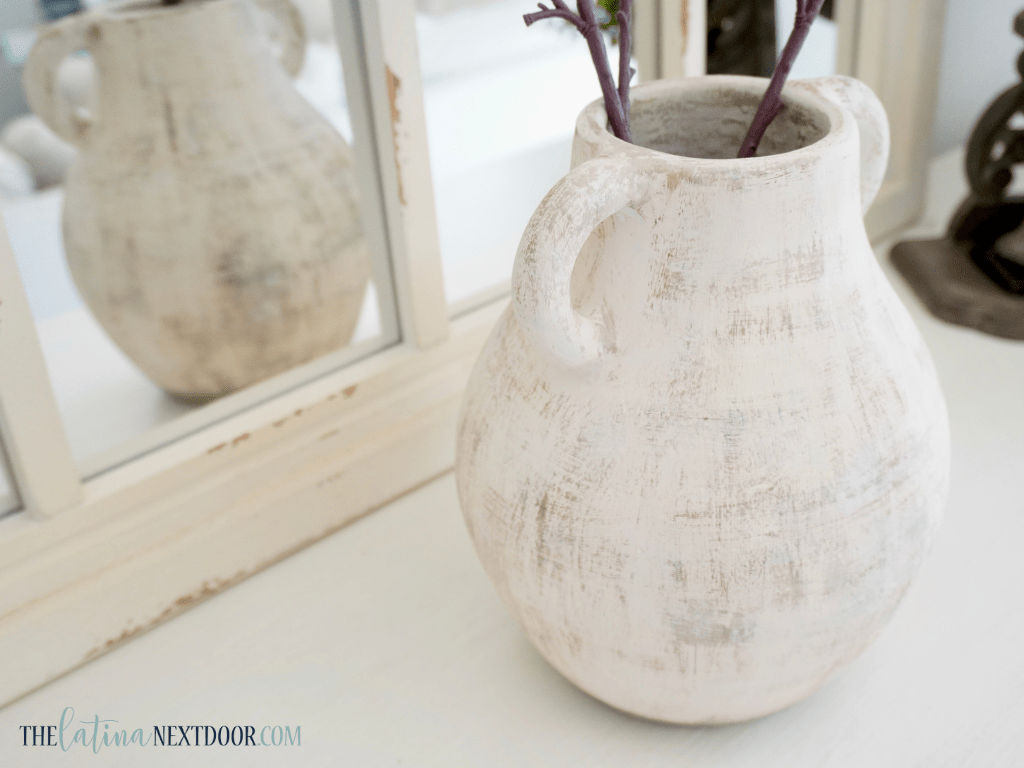
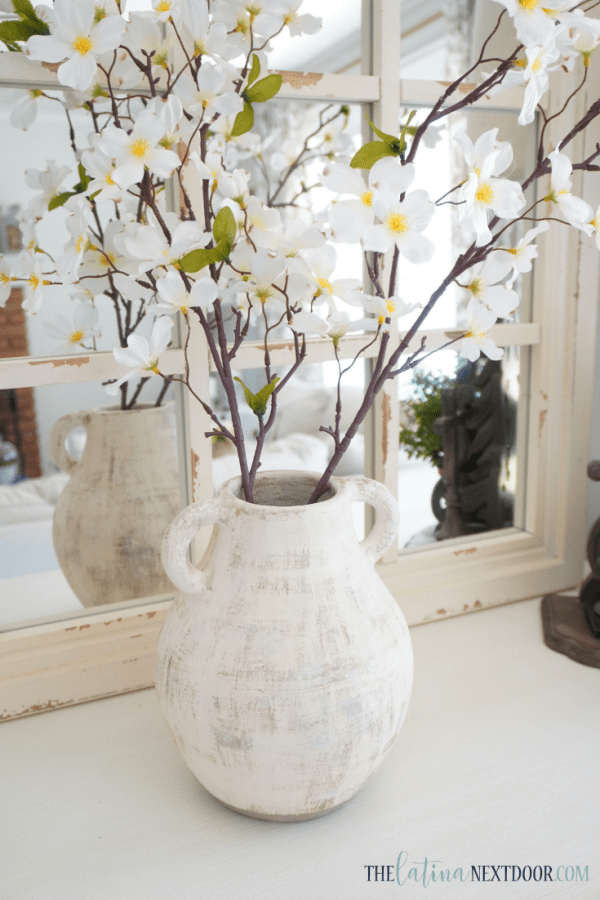
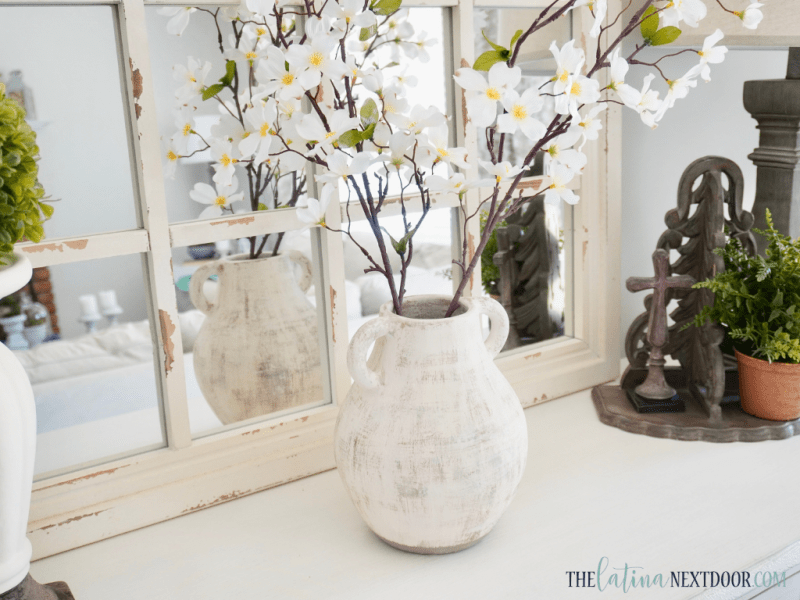
Once I was done, here is how it turned out!
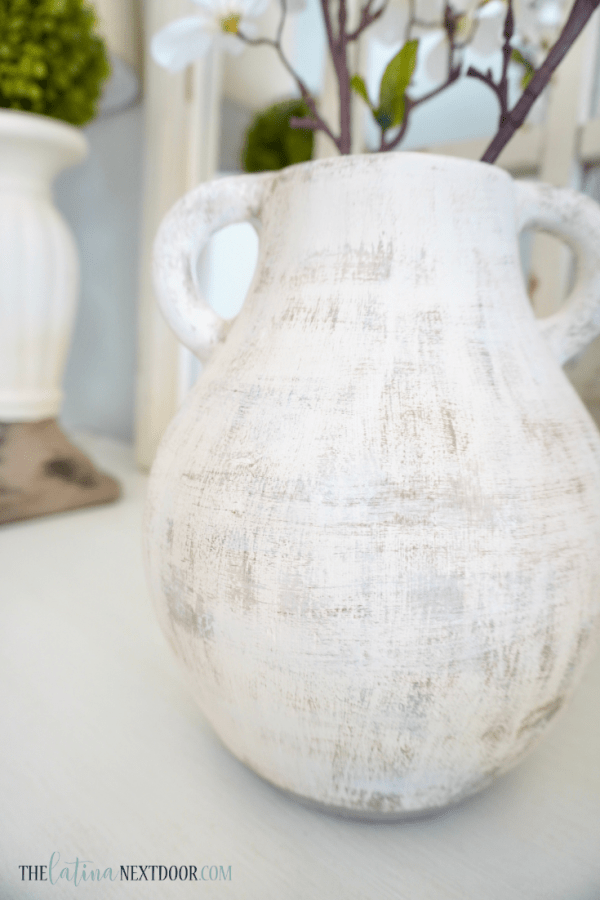 It turned out so good! And now I want more since this one is looking pretty lonely. Plus doing it again will give me more practice and time to test other modes of application.
I just love how it looks with florals as well. I will say I wasn’t sure I could pull this off since I really wanted it to look authentic but I think I did pretty good.
Would you try something like this? Let me know below….
I also have 4 other thrifty high end DIY’s that you might enjoy and you are welcome to watch below!
I hope you liked this thrifty high end dupe!
Don’t forget to share this with your friends and I will be back with more soon! Until next time… adios!



There are so many tutorials for this technique but I like your the best. I have been collecting vases to try this . Thanks for sharing.
Thank you very much! Best of luck on your vases! Have fun with it!
Really like the end result. Thanks so much for sharing.
Thank you Sue!
It looks great and I love the simplicity of the steps you provided.
Thanks Janie!
It looks great! unfortunately unlike you I do not have these items on hand, Love the concept and the look would be great with all kinds of vases Thanks.
Thank you! Most of the items I have on hand have taken a while to accumulate from various projects so it can take a little time. I just like to take advantage of what I have and use it up to get the most out of it. 🙂
It looks GREAT! Exactly what I want to do- now I’ll be on the lookout for a vase to transform. Love your easy steps and the smoothness of yours. Thanks and love your posts.
Yes! As long as you can find the shape you want, you can transform it to exactly what you want. Best of luck!!!
This is an easy to follow tutorial and I can’t wait to find the perfect vase to make over. I had one but it was too large and donated it but I should have held onto it and practiced. Off to the local thrift shop to find one!
Thank you so much! Best of luck to you! I know you will find the perfect one!