
DIY Pinecone Wreath
 DIY Pinecone Wreath

Happy Christmas in July! Yes, yes, I know it’s a little early to start thinking about Christmas, however, my YouTube friends and I get together every summer and do a fun collaboration where we share fun DIYs for Christmas in the month of July.
This helps get our creative juices flowing, keeps our minds off the hot summer heat and it’s just plain fun.
Today I actually have a Look for Less Dupe for you. I spotted this pinecone wreath on Serena & Lily’s website on sale for $199 and thought it was stunning. The price, not so much. But I knew I could recreate it for much cheaper and still get an amazing look.
*As always don’t forget that if you want the step by step tutorial for this check out the video at the end of this post. There are 4 other DIYs shared as well. Simply scroll down to the end and enjoy.*
*SOME OF THE FOLLOWING LINKS ARE AFFILIATE LINKS. PLEASE SEE FULL DISCLOSURE FOR COMPLETE DETAILS*

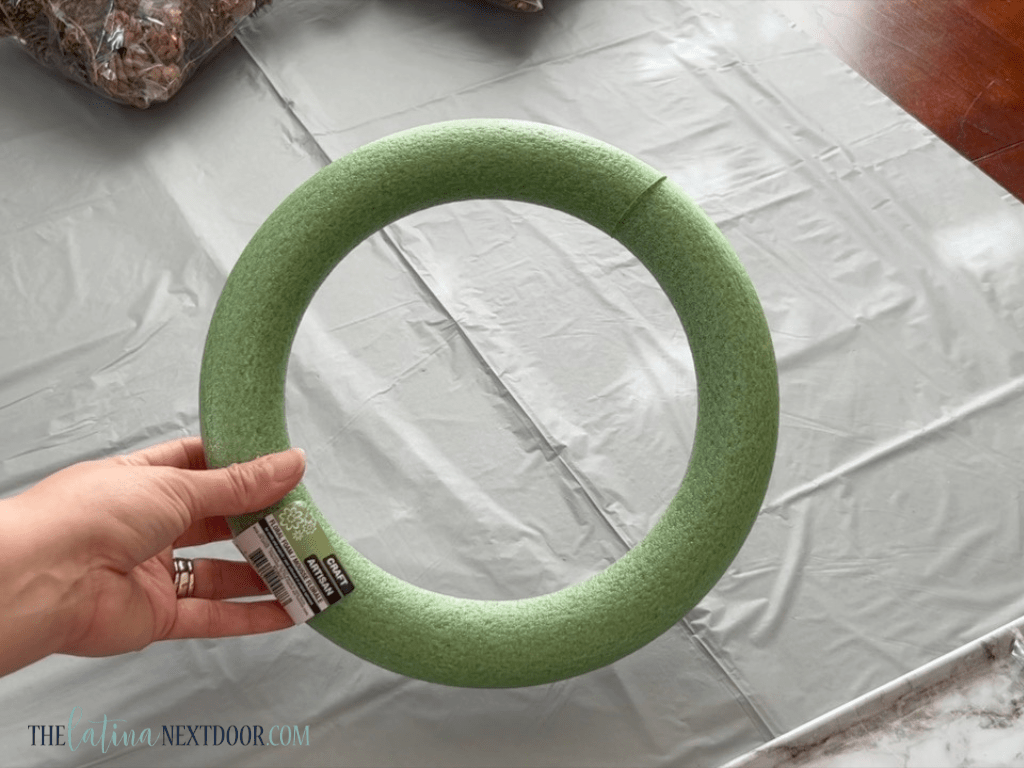
The first thing you will need is a wreath form like the one below. I got this one at Dollar Tree, but you can find these at any craft store and you can buy larger ones if you choose.
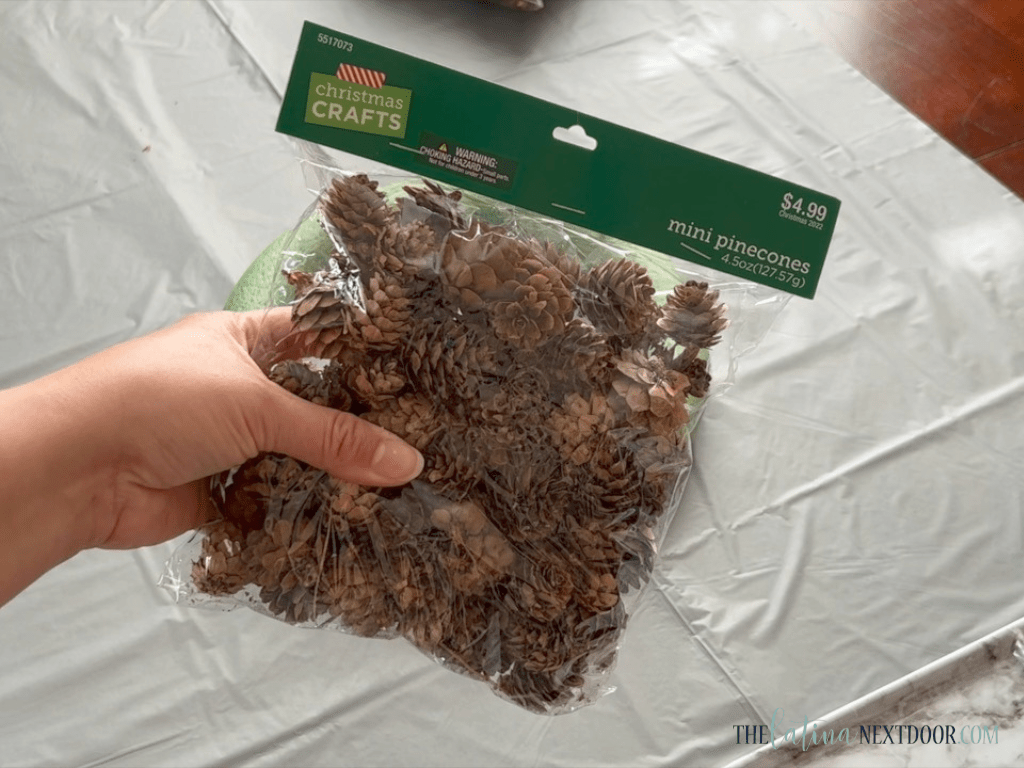
Next, you will need pinecones. If you have them in your yard you can easily use those as long as you bake them properly to make sure they are sanitized and ready to use for crafting.
If not, these packs are inexpensive and go on sale all the time. I got these for $2.5o each since they were 50% off at the time.
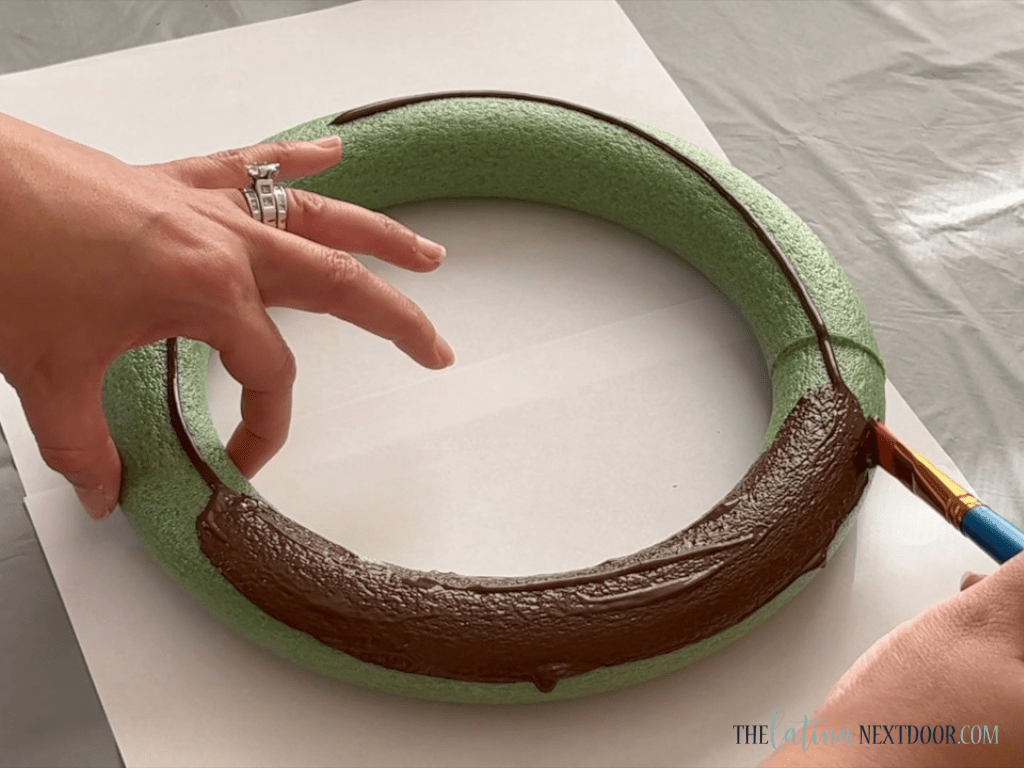
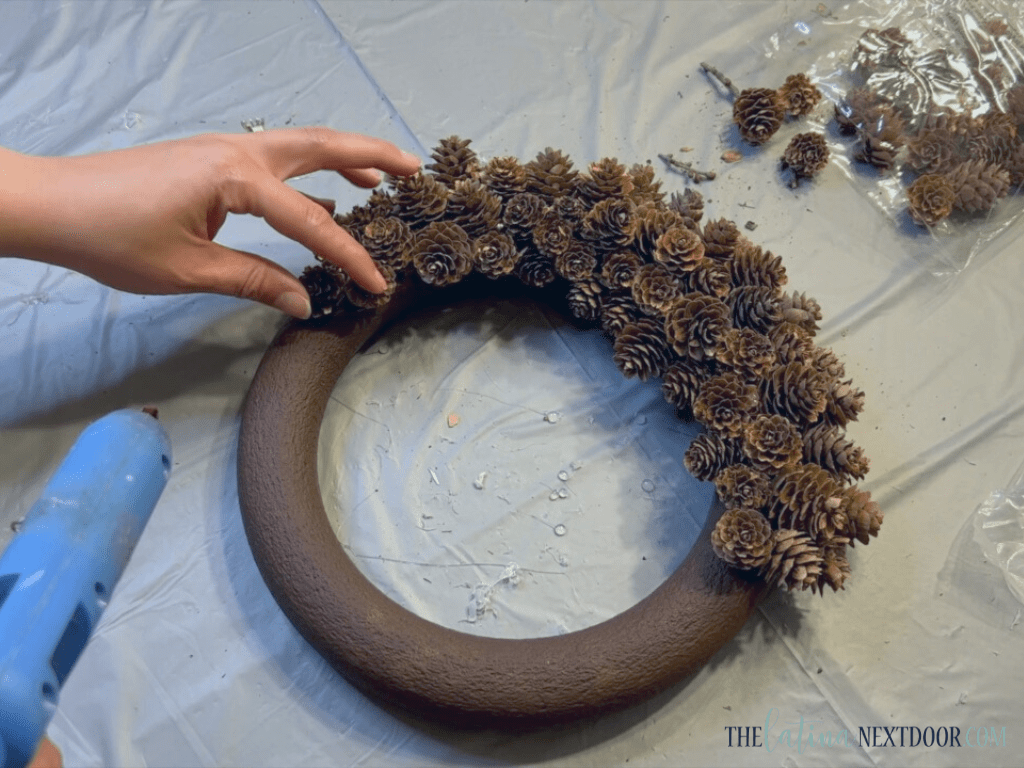
Next, get some brown acrylic paint and cover the entire surface of the wreath. This will make sure that if there are any areas in between the pinecones showing you won’t see any green peek through.
After the paint is completely dry, start hot-gluing the pinecones in place making sure you are placing them as closely as possible to each other.
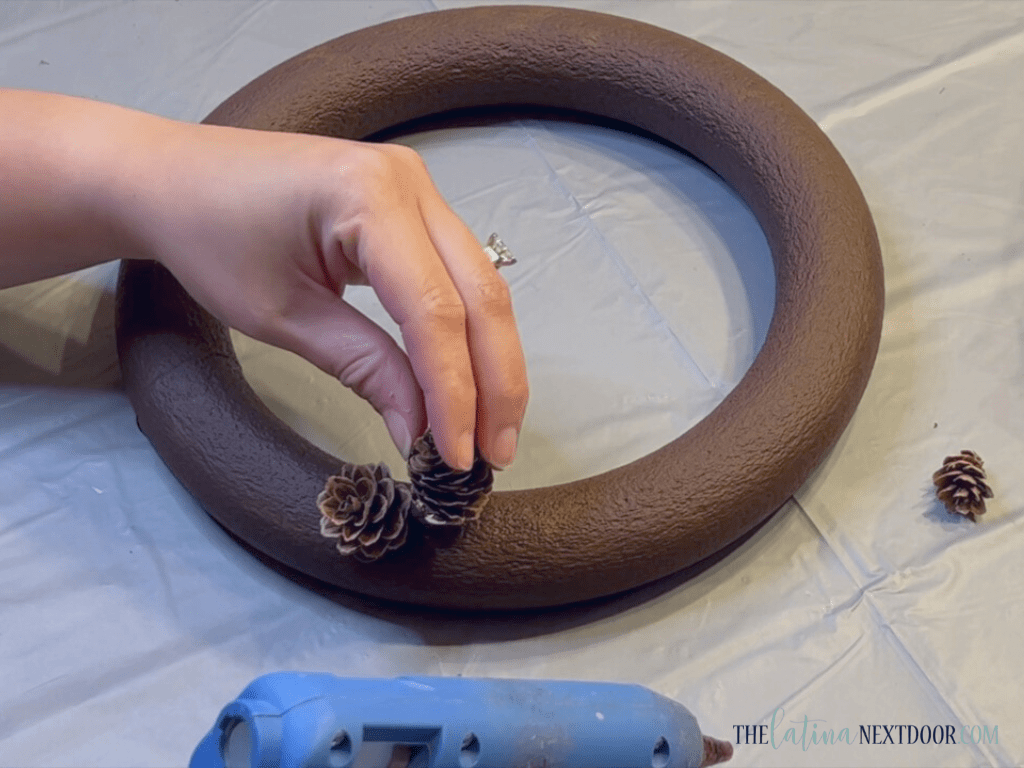
Continue all the way around getting as close as you can to the back of the wreath so you have full coverage. Leave the back alone, so it can lay flat on a wall.
Next, create a bow for the wreath. I used this velvet green bow out of $3 ribbon that I found at Dollar Tree.

Use hot glue to adhere the bow onto the wreath.

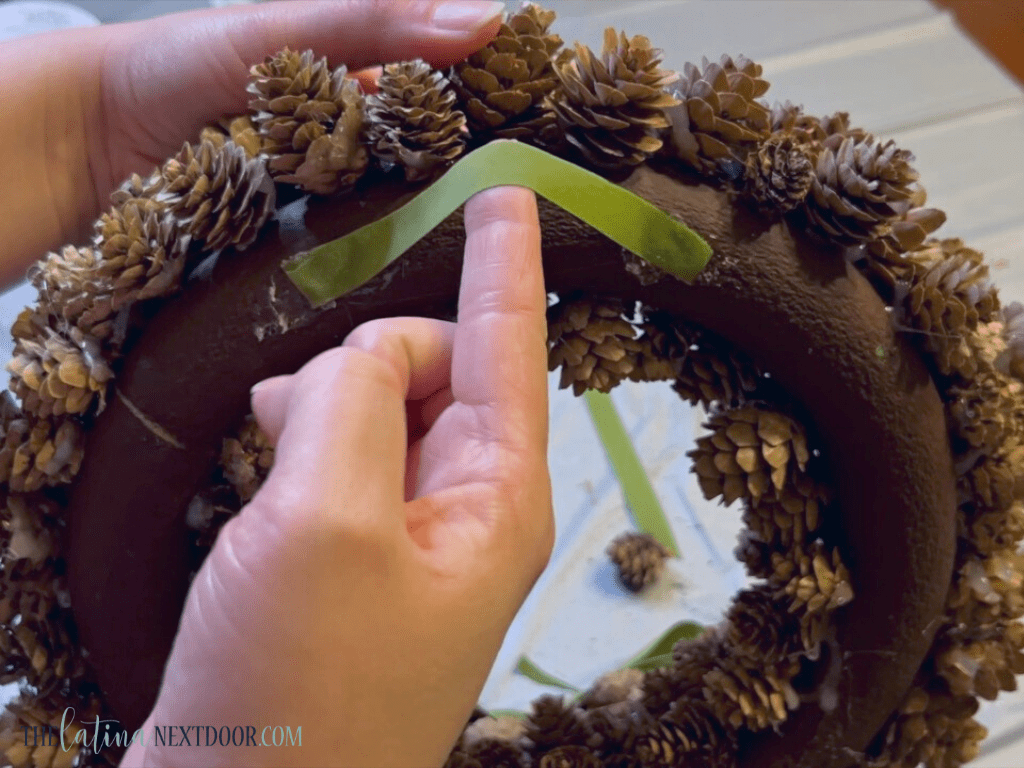
Finally, make sure you hot glue some string, or in this case a piece of ribbon, so that you can hang the wreath up easily.
And that’s all there is to it! Now, I have a beautiful wreath that I can hang up during Christmas time and even leave up throughout the rest of the winter season (and you can too!).

The best thing about it is that was much less than the original piece. Below is the comparison. I only spent $9.25 on mine in comparison to the $200 high end one.

What do you think of this dupe?
Also if you like wreaths, check out these 8 completely different Christmas wreaths that will work for any style!

There are more Christmas in July crafts in the video below. You can also see everyone else who joined in on the fun.
Don’t forget to save (or pin) this for later this year and I will see you very soon!
Until then…. adios!